
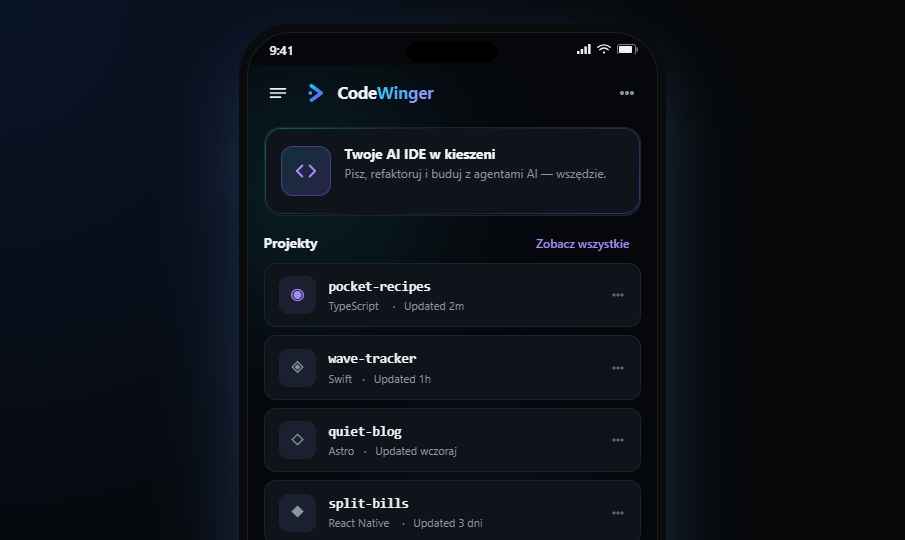
Vibe coding means describing what you want in natural language and letting an AI agent write the code. But the workflow only works if you have the right setup: an IDE that gives the agent local file access, a model connection through your own API key, and version control to track every change. Without these pieces, you are either copying code from a chat window or accepting changes you cannot roll back.
The terminal is essential because it closes the feedback loop. You run the project, see errors or success, and feed that output back to the agent. Git is essential because it gives you a safety net. Every verified change gets committed, and every failed experiment can be reverted. Together, these four tools — AI IDE, API key, terminal, Git — form the foundation of a vibe coding workflow.
Step 1: Scaffold the project with natural language
Start with an empty folder. Open it in your AI IDE and describe the project you want to build. Be specific about the type of project, the tech stack, and the folder structure. For example: "Create a React app with TypeScript, a src/ folder with components/ and utils/ subdirectories, and a basic App.tsx that renders a heading." The agent will generate the initial files, dependencies, and configuration.
This is the most satisfying part of vibe coding — watching a project materialize from a single description. But it is also where discipline matters most. Before you build anything on top of the scaffold, review the diff. Check that the folder structure makes sense, that the dependencies are reasonable, and that the configuration files match what you would expect for the stack you described.
If the scaffold looks wrong — too many dependencies, unexpected folder layout, configuration you do not recognize — reject it and refine your prompt. It is far easier to fix the foundation now than to rebuild it after three more features are stacked on top. A clean scaffold sets the tone for the entire project.
Step 2: Describe features in plain English
Be specific about scope
"Add a login form with email and password fields" not "add authentication." The narrower the prompt, the more predictable the output.
Reference files by name
"Update App.tsx to include the new LoginForm component." Naming the file tells the agent exactly where to work and reduces the chance of edits in unrelated files.
Define acceptance criteria
"The form should validate email format and show an error message." This gives the agent a clear target and gives you a concrete way to verify the output.
One feature per prompt
Keep prompts focused. Multiple features in one prompt lead to scope creep, larger diffs, and harder reviews. One prompt, one feature, one diff.
Include constraints
"Use the existing Button component from components/ui/" tells the agent to reuse what is already there instead of creating duplicates. Constraints reduce drift.
Step 3: Review the diff — the step most tutorials skip
Most vibe coding tutorials show you how to prompt and how to run the result. They skip the middle step: reviewing the diff. This is the step that separates vibe coding that works from vibe coding that produces fragile, misunderstood code. If you do not review, you are not coding — you are hoping.
When the agent finishes, inspect the inline diff before accepting anything. Look at what files changed and whether those files match what you asked for. Read the additions line by line. Check that the logic is correct, that variable names make sense, and that the agent did not introduce dependencies or patterns you did not ask for. Pay special attention to deletions — the agent sometimes removes code it considers unnecessary but that you actually need.
You do not have to accept or reject an entire diff at once. Most AI IDEs let you accept or reject individual hunks. Use this. Accept the parts that look correct, reject the parts that do not, and re-prompt for the rejected sections with more specific instructions. This hunk-level control is what makes vibe coding practical for real projects instead of just demos.
Step 4: Run, test, and iterate with terminal feedback
After accepting the diff, run the project in your terminal. This is the ground truth check. The diff might look correct, but the terminal will tell you whether the code actually compiles, renders, or passes tests. Run the development server, execute the test suite, or trigger the build — whatever is appropriate for your project.
If you see errors, do not fix them by hand. Copy the error output from the terminal and paste it back to the agent as your next prompt. The agent can read stack traces, compiler errors, and test failures, and it will use that information to iterate on a fix. This terminal-to-agent feedback loop is one of the most powerful patterns in vibe coding because it gives the agent concrete, unambiguous context about what went wrong.
Iterate until the terminal is clean. Each cycle — prompt, diff, accept, run, check — should take minutes, not hours. If you find yourself going through more than three or four iterations on the same issue, step back and re-evaluate your prompt. The problem is usually that the agent lacks context, not that it lacks capability.
Step 5: Git workflow for vibe-coded projects
Commit after every verified change. This is the single most important Git habit for vibe coding. Each commit should represent one feature or fix that you have reviewed in the diff and tested in the terminal. Do not batch multiple agent sessions into a single commit — if something breaks later, you want to be able to pinpoint and revert the exact change that caused it.
Write clear commit messages that note the nature of the change. Some developers include a tag like "[vibe]" or "[agent]" to mark commits that were generated through vibe coding. This is not required, but it makes your Git history more transparent and helps collaborators understand which changes were agent-assisted. The message itself should still describe what changed and why, not just "agent-generated code."
For experimental vibe coding — trying out features you are not sure about — use branches. Create a feature branch, let the agent work freely, review and test, and only merge into main when you are confident. If the experiment fails, you can delete the branch without polluting your main history. This branching strategy gives you the freedom to explore without the risk of breaking what already works.
Where CodeWinger fits
Every step in this tutorial maps directly to a CodeWinger feature. The workflow is the same whether you use CodeWinger or another AI IDE, but here is how each step looks in practice:
- Open an empty folder as a project — CodeWinger gives the agent full local file access from the start
- Enter your BYOK API key — connect to Anthropic, OpenAI, or any supported provider without a subscription
- Describe the scaffold in natural language — the agent creates files, folders, and configuration in your project directory
- Review inline diffs with hunk-level accept/reject — inspect every change before it lands in your codebase
- Use the built-in terminal to run, test, and capture errors for the next prompt
- Stage and commit from the integrated Git panel after each verified change
Try it
Download CodeWinger Desktop for Windows x64
CodeWinger Desktop 0.3.0 is currently free. The setup installer is the recommended download for normal Windows users.
Bottom line
Vibe coding is not magic and it is not reckless. It is a structured workflow: scaffold with natural language, describe features one at a time, review every diff, test in terminal, and commit with Git. Each step has a purpose, and skipping any of them — especially diff review — turns a powerful workflow into a liability. Follow the steps, build the habit, and vibe coding becomes a reliable way to ship features faster without losing control of your codebase.
FAQ
How do I start vibe coding?
Open a project in an AI IDE, configure BYOK, and describe what you want in English. Review the diff, test in terminal, commit with Git.
Do I need coding experience for vibe coding?
Basic familiarity with file structures and terminal helps. You can describe features in English, but you need to understand the diff to review it effectively.
What is the best IDE for vibe coding?
Any AI IDE with agent editing, inline diff review, and terminal access. CodeWinger is a free, local-first option with BYOK model access.
Should I review every diff when vibe coding?
Yes. This is the most important step. The agent writes fast but not always correctly. Every diff should be inspected before accepting.
How do I handle errors in vibe coding?
Copy the error from terminal, paste it back to the agent as context, and ask for a fix. The agent uses the error to iterate.
Can I vibe code a production app?
For standard features (UI, CRUD, tests), yes with review. For complex business logic and security, supplement with manual code and rigorous testing.