
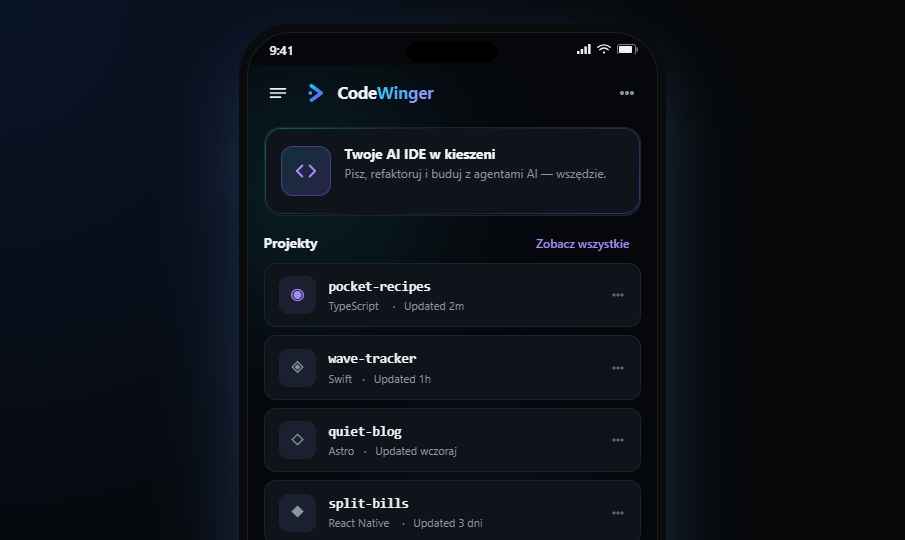
The project folder can be anything you already work on: a web app, a backend service, a script collection, or a side project. The agent needs local file access to read your code, understand your project structure, and propose edits in context. Cloud-only editors or sandboxed playgrounds do not give the agent the same depth of access.
The API key connects the IDE to the language model. With BYOK, you control which provider you use, which model you select, and how much you spend. There is no subscription gate. You pay the provider directly for the tokens the model processes, and the IDE itself stays free.
Step by step: your first AI agent session
Open your project folder
Open a real project in your AI IDE. The agent needs local file access to understand context.
Configure your API key
Enter your BYOK API key from your chosen model provider. This connects the agent to the model.
Make your first request
Start small. Ask the agent to fix a bug, add a function, or refactor a specific file. Be specific about scope.
Review the diff
Inspect every change the agent proposes. Do not auto-accept. Read each hunk and decide whether it belongs.
Check the terminal
Run the project, tests, or build. Terminal output confirms whether the agent's changes work.
Commit with Git
If the diff looks good and tests pass, stage and commit. Use clear commit messages that note agent assistance.
Understanding agent output
After the agent finishes working, the most important artifact is the diff. A diff shows exactly what changed: lines added, lines deleted, and lines modified. Green lines are additions. Red lines are deletions. Context lines around the changes help you understand where in the file the edit happened.
Check that the changes are scoped correctly. If you asked the agent to refactor a single function, the diff should show changes in that function and possibly its call sites. If you see edits in unrelated files, configuration changes you did not request, or formatting-only modifications across the codebase, that is scope creep. Reject those hunks or ask the agent to try again with a tighter prompt.
Sometimes the agent touches files it should not have. This can happen when a broad prompt gives the agent permission to interpret the task loosely. Watch for unexpected changes to dependency files, build configurations, environment variables, or authentication logic. These are the highest-risk edits because they can break things silently.
Common first-session mistakes
| Mistake | Why it happens | Fix |
|---|---|---|
| Overly broad prompts | Developer asks "improve the codebase" | Scope to specific files and functions |
| Skipping diff review | Trust in AI output | Always inspect diffs before accepting |
| Not checking terminal | Assuming code works | Run tests and builds after every agent change |
| Large first request | Testing with complex task | Start with a small, reversible change |
| Forgetting Git | No rollback path | Commit before agent changes, commit after verified changes |
Building the prompt-review-test-commit rhythm
The most effective way to work with an AI coding agent is to build a repeatable cycle: prompt, review the diff, run the terminal, commit with Git. Each cycle is small, reversible, and verifiable. That rhythm keeps you in control even when the agent is doing significant work.
Start each cycle with a clear, scoped prompt. After the agent responds, review the inline diff to confirm the changes match your intent. Then run the project or tests in the terminal to verify the code works. If everything passes, stage and commit. If something is wrong, reject the diff, refine your prompt, and run the cycle again.
Over time this becomes automatic. The habit protects you from accumulating unreviewed changes and gives you a clean Git history where every commit represents verified, intentional progress. It also makes agent-assisted work auditable: anyone reading the commit log can see what changed and why.
Where CodeWinger fits
CodeWinger's onboarding maps directly to this workflow. The setup flow follows the same steps a developer needs to start using an AI coding agent on a local project:
- Open your project folder in CodeWinger
- Enter your BYOK API key from any supported provider
- Write a prompt to start your first agent session
- Review the inline diff the agent produces
- Check terminal output to verify the changes work
- Use Git to commit verified changes
Try it
Download CodeWinger Desktop for Windows x64
CodeWinger Desktop 0.3.0 is currently free. The setup installer is the recommended download for normal Windows users.
Bottom line
Setting up an AI coding agent is not complicated. Open a project, add an API key, make a small request, and review the diff. The real skill is in the rhythm that follows: prompt, review, test, commit. That cycle keeps you in control, gives you clean Git history, and turns AI speed into reliable progress.
FAQ
How do I start using an AI coding agent?
Open your project in an AI IDE, configure your API key (BYOK), and make a small, scoped request. Review the diff, test in terminal, and commit.
Do I need to pay for a subscription?
Not necessarily. BYOK IDEs like CodeWinger are free. You pay only your API provider for model usage.
What is the best first task for an AI agent?
A small, reversible change: fixing a specific bug, adding a utility function, or refactoring a single file. This lets you learn the review workflow safely.
How do I review AI agent changes?
Use inline diff review. Inspect each change (additions, deletions, modifications) and accept only what looks correct. Reject or modify anything that does not belong.
What if the AI agent makes a mistake?
Reject the diff, adjust your prompt with more specific scope or constraints, and try again. Git gives you rollback capability if needed.
Can I use CodeWinger for my first AI coding setup?
Yes. CodeWinger is a free, local-first AI IDE. Open your project folder, enter your BYOK API key, and follow the prompt-review-test-commit workflow.